Adobe.. dobe ... dobe
We moved into our humble abode a little over 4 years ago, but still the march to complete the house pushes on - from within.
Over a year has passed since my last blog post, yea I know - I'm totally blog slack! On-wards an upwards aye :)
From abode, to adobe! (pronounced ah - doe - bee) ... mud that is, glorious mud. Some people put it on their faces, we just put it on our walls :) We are laying Adobe veneer bricks (ie. non-structural) supported vertically by a fortified timber framed wall. Each of the bricks is about 4kgs and we have placed a total of about 700 bricks in our house - yes that means 2.8 tonnes :) The bricks give good insulated thermal mass and the clay content regulates air humidity to comfortable levels. The external timber frame walls have wool insulation in them to R3.6.
You might remember a previous post where I showed the putting up of the first adobe mud brick wall in our kitchen. Well now we attempt the same task, just about every where else on the ground floor.

The process is outlined below:
1/
First build a brick plinth by laying some bricks down (1 layer high) and back filling it with concrete. Paint the top of it with sealer to ensure that no moisture can travel up it. The plinth provides a solid water impermeable seat, to protect the integrity of the adobe wall. It will keep the adobe mud bricks dry in the event of a large spill, or in our case a fire event turning our sprinklers on. The bearing foundations that hold the weight of the wall was placed under the concrete before it was poured.


2/
Once the plinth is completed, we start laying the mud bricks. The mud bricks are made from clay, sand and straw and are pretested to be of an acceptable strength. We purchased these from the amazing folks at Solid Earth in Nelson. Verena has been very supportive of our build right from the start and has given me heaps of great advice on using this material. Plus in her spare time, she puts solar panels on the Beehive Parliament building ;) ... amazing!
I did a summer workshop with her a few years back, and I made this teaser video for her:

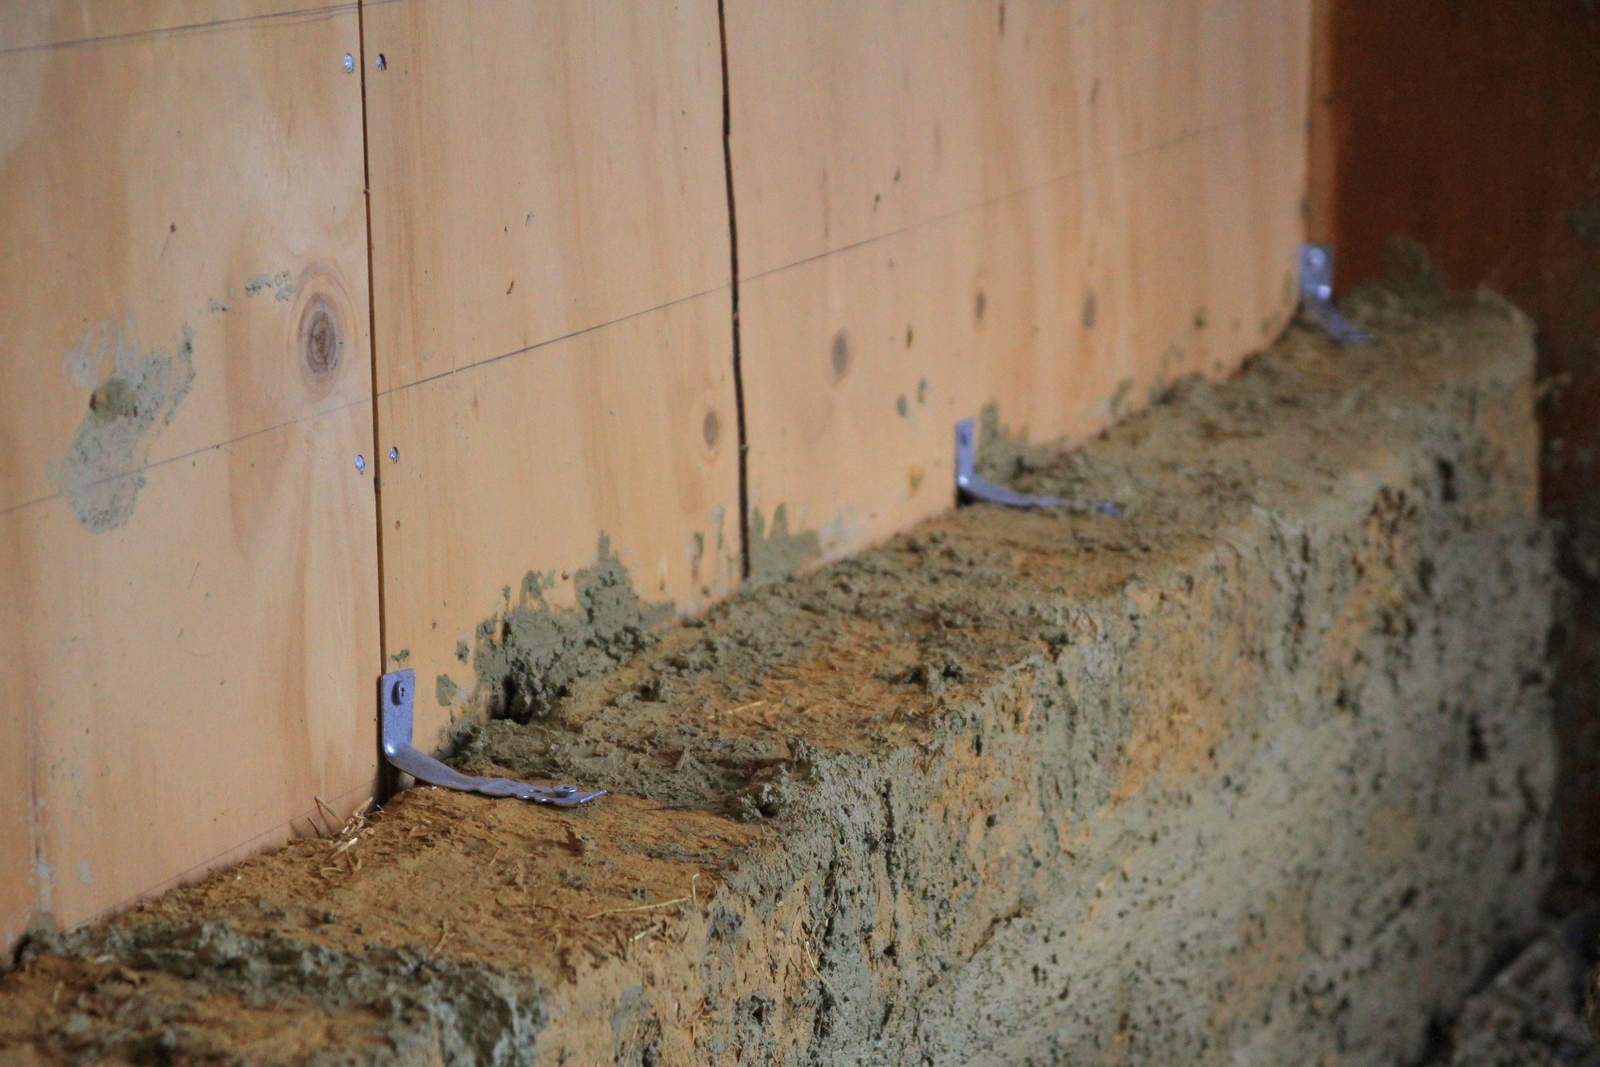
The bricks are laid down with specially made earth mortar which has fine aggregate, sand and clay. This seats each of the bricks up to the prescribed height of 150mm high, and enables the bricks to be laterally spaced about 150mm apart in a half brick bond pattern. After 2 courses are laid, galvanised brick ties are screwed into the bricks and into the wall studs. These studs were previously reinforced with metal brackets before the plywood backing was installed. The 9mm thick plywood is used for its superior bracing and structural strength and is rated for E0 emissions (for the glues volatile organic compounds) which is less than background levels.
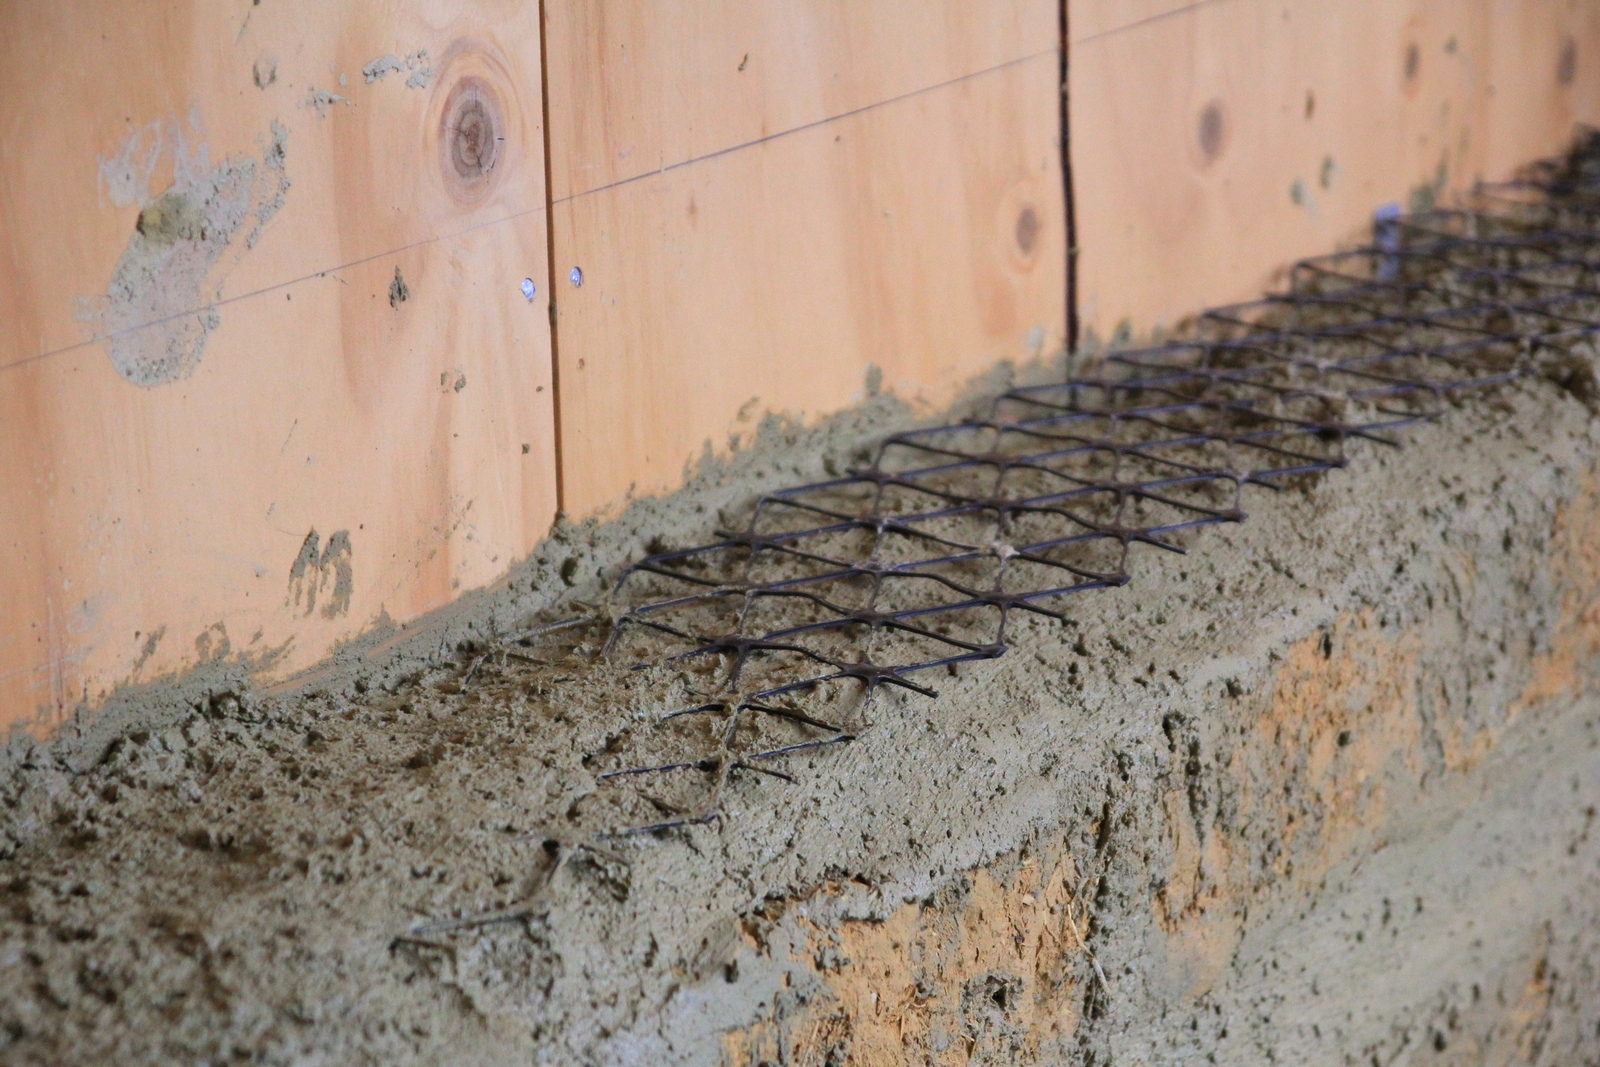
For the brick ties to work effectively, geo-grid mesh is added into the mortar to tie the adjoining lateral and vertical brick layers together - resulting in a very strong structure that can withstand a good shake (such as the ones we experienced in Christchurch). This technique has been recently proven in an aggressive shake test. The test involved building a hinging mock adobe mud brick wall (much larger than ours, inclusive of a large lintel in the middle holding substantial bricks above) at Solid Earth's grounds. A digger was used to push/pull the wall on a very decent lean. It then started to shake the wall up and down in an attempt to see at which point the wall would be destroyed. The results were outstanding as the wall did not yield to the incredible abuse, a result that the supervising engineer Richard Walker (Engineering Sustainable Solutions) was very pleased with. Richard co-authored the earth building code that has now been adopted into the NZ building code. He also happens to be the engineer for our house and of course we highly recommend his expertise!
The photo below shows the mock wall under test. There are a fair few tonnes of bricks there!
Below are a few photos of the wall as the bricks go up and up and up ... this was a time and energy consuming process. No more than 4 courses can be done per day, to give the bricks a chance to solidify and gain strength. The bricks are pre-soaked before they are laid, this makes it easier to bond to the mortar.

In some areas we used a masonry saw to chamfer the corners of the bricks adjacent to a window or door aperture. This gives a much softer and graduating light into the room, which is aesthetically pleasing to look at.

I made some plywood boxed to house the electrical sockets. These made it easier to lay the sockets into the wall. I decided to recess the sockets in, and use mortar to shape the sockets so they look like a snug fit into the wall - I quite like that look.


In the shot below, you can see that I utilised a square down pipe as a conduit for chasing some home theater cables some time in the future.


3/
After letting the bricks dry for a month or so, the next step involves several coats on the mud bricks with a sifted clay slurry added fine sand and/or flour. This smooths out the surface of the bricks giving them a more finished/polished look.


At about this point, having a good and well deserved rest is warranted. In a future blog post I will show you the process of capping of the mud bricks with timber.
Oh yes, for a bit of fun we made a short video when our last wwoofers were staying with us. Have a watch and let me know what you think! ...


Comments
Post a Comment